News & Events
How to Install PVC Flooring
PVC flooring, also known as vinyl flooring, is an inexpensive material that installs quickly on any flat surface. Water-resistant and durable, PVC flooring stands up well to normal wear and tear. It lasts years with minimal maintenance required to keep it looking as fresh as the day you installed it. Most PVC flooring is the self-stick type, so messy adhesives are not necessary for installation. One-person installation is possible, with little work necessary in the subfloor preparation. The material also comes in a wide variety of designs and patterns to match your room's decor.
Step 1
Sweep the installation site with a stiff-bristled broom to remove all loose dirt from the floor. Mop the floor with a pH-neutral cleaner. Remove ingrained dirt by scrubbing at dirty patches with a nylon bristle scrub brush. Dry the floor with a clean towel.
Step 2
Inspect the floor for any dips or rises in the surface. Use a leveling bar to locate uneven portions of the floor. Drag the bar across the surface and look beneath it to find any gaps caused by rises or falls in the surface. Mark these high and low spots with a piece of chalk.
Step 3
Level the floor by grinding down high spots using a concrete grinder on concrete surfaces and a floor sander on wood surfaces. Sweep away any residue. Fill in low areas of the floor using a self-leveling compound. Pour the compound into the low areas and spread it even with the surrounding floor surface, using the flat side of a trowel. Use the compound to fill any small cracks or chips in the floor surface. Allow the compound to cure overnight.
Step 4
Create crossing lines in the center of the floor, measured from the room's opposing walls. Use a chalk line to create the lines. Place the two ends of the chalk line at the center of opposing walls. Lift the string slightly from the surface of the floor, then release the line so it snaps against the floor and leaves a straight line of chalk going down the center of the room. Repeat the process for the other two walls. Adjust the marked cross at the room's center so that the lines create 90-degree angles. This intersection is your guideline for the flooring installation.
Step 5
Unroll the first section of the PVC flooring across the surface, using the chalked line running the longest length of the room as a guideline. Start the flooring about 1/8 inch from the wall, rolling it across the room to the other wall. Cut the flooring at a point 1/8 inch from the opposing wall, using a straightedge and to guide your cut with a utility knife.
Step 6
Roll the flooring back up. Remove the backing paper from the exposed end of the roll. Stick that end onto the subfloor, then unroll the flooring again. Remove the backing paper as you go along to expose the adhesive on the back of the flooring material. Cover the complete line from wall to wall, maintaining a straight line by using the chalk guideline.
Step 7
Use the same process to place the remaining PVC flooring, working in strips butted tightly against the previous flooring piece laid. If the flooring is patterned, make sure the patterns of adjacent floor rolls match. Use the utility knife to cut the pieces on the edge of the floor lengthwise as needed. Maintain the 1/8-inch gap between the flooring edge and the wall to allow for expansion and contraction of the subfloor during temperature changes.
Step 8
Push a long-handled squeegee across the surface of the floor, from the center to the outside edges, to remove any air trapped beneath the flooring. The air interferes with the adhesion of the floor. Using the squeegee also ensures that the entire surface of the floor is tightly adhered the subfloor.
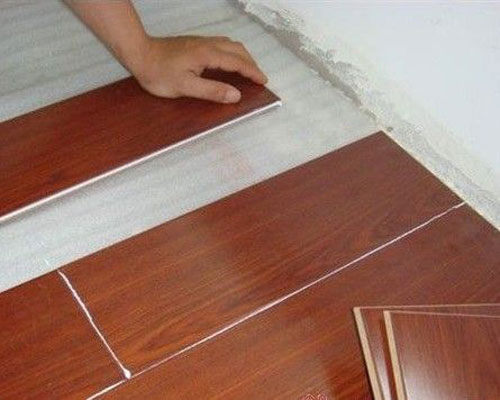
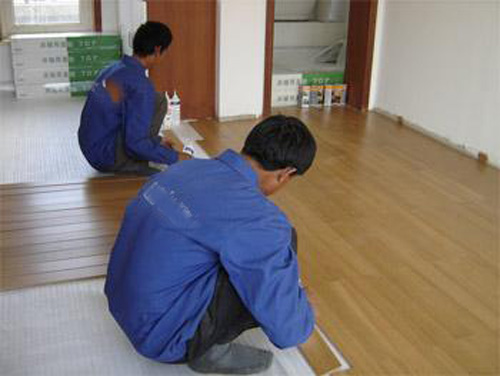
The following is pthotos when installing PVC flooring:


.png?v=20250420)


 Richard Liu
 +86.519.8585.1798 Fax:+86.519.8585.6878
 info@xinflooring.com ( 7*24 hours online)
 Science & Technology, Industrial Park, Hutang Town, Wujin District, Changzhou City, Jiangsu Province, 213162, China.