News & Events
Proper steps to install flooring
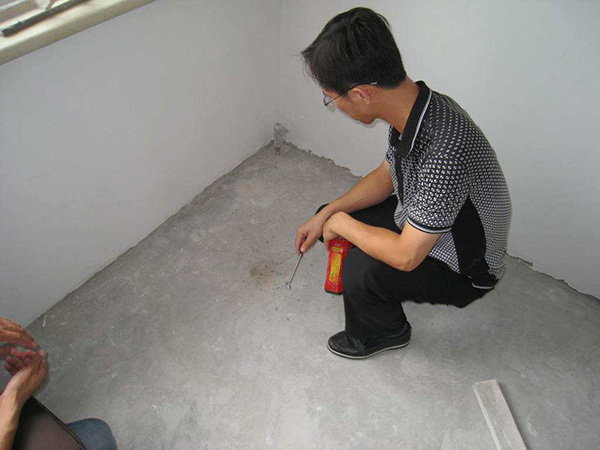
First Step:Inspection of the ground.
1. Use a thermometer and hygrometer to detect the temperature and humidity. The indoor temperature and surface temperature should be 15°C, and construction should not be below 5°C or above 30°C. The relative air humidity suitable for construction should be between 20% and 75%.
2. Use a moisture content tester to detect the moisture content of the base. The moisture content of the base should be less than 3%.
3. The strength of the base should not be lower than the requirements of concrete strength C-20, otherwise, appropriate self-leveling should be used to adjust it.
4. The surface hardness of the base layer should be not less than 1.2 MPa.
5. For the construction of stone-plastic floor materials, the unevenness of the base layer should be less than 2mm within the range of 2m ruler, otherwise, it should be leveled with suitable self-leveling.

Second Step:Floor pretreatment
1. Use a floor grinder with a power of more than 1000 watts and appropriate grinding discs to grind the floor as a whole, remove paint, glue and other residues, and remove raised and loose plots and hollow plots.
2. Clean the floor with an industrial vacuum cleaner of no less than 2000 watts.
3. For the cracks on the floor, it can be repaired with stainless steel reinforcement ribs and polyurethane waterproof adhesive surface covered with quartz sand.
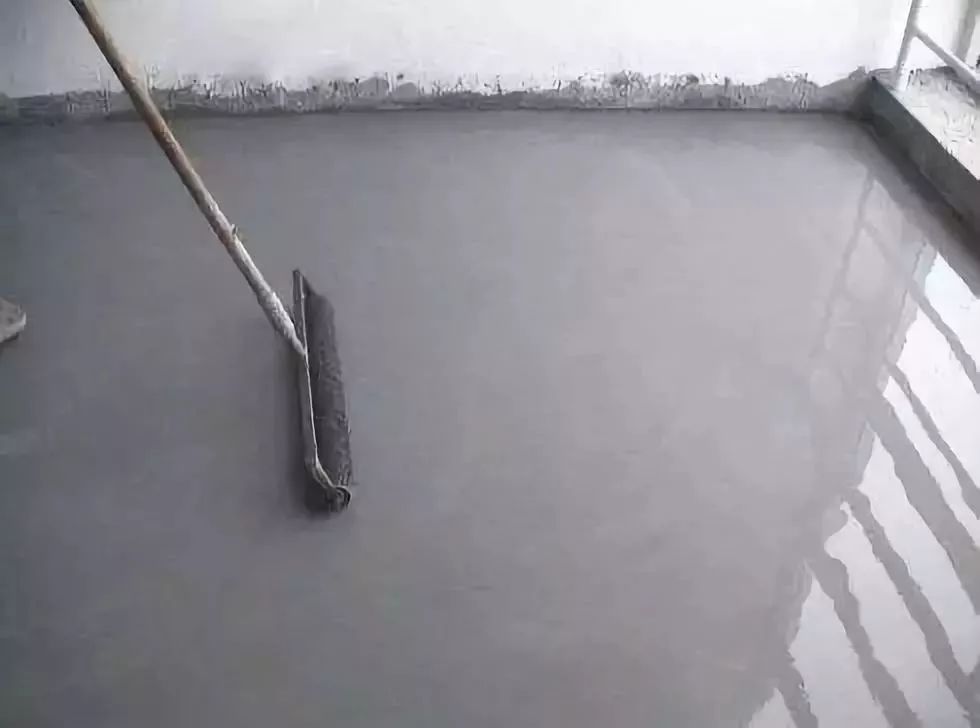
Third Step:Self-leveling construction - bottoming
1. Absorbent base layers such as concrete and cement mortar leveling layers should be diluted with water at a ratio of 1:1 with a multi-purpose interface treatment agent before being sealed and primed.
2. For non-absorbent substrates such as tiles, terrazzo, marble, etc., it is recommended to use a dense interface treatment agent for primer.
3. If the moisture content of the base is too high (>3%) and construction is required immediately, epoxy interface treatment agent can be used for primer treatment, but the premise is that the moisture content of the base should not exceed 8%.
4. The construction of the interface treatment agent should be uniform without obvious fluid accumulation. After the surface of the interface treatment agent is air-dried, the next step of self-leveling construction can be carried out.
Fourth Step, self-leveling construction - mixing
1. Pour a bag of self-leveling into a mixing bucket filled with clean water according to the specified water-cement ratio, and stir while pouring.
2. In order to ensure uniform self-leveling and mixing, it is necessary to use a high-power, low-speed electric drill with a special stirrer for stirring.
3. Stir until there is no agglomeration in the uniform slurry, let it stand for about 3 minutes, and then stir again briefly.
4. The amount of water added should be strictly in accordance with the water-cement ratio (please refer to the corresponding self-leveling instructions). Too little water will affect fluidity. Too much will reduce the strength after curing.
Fifth, self-leveling construction - laying
1. Pour the self-leveling slurry that has been stirred on the construction floor, it will flow and level the ground by itself, if the design thickness is less than or equal to 1 mm, it needs to be scraped slightly with the help of a special toothed scraper.
2. Afterwards, the construction personnel should wear special spiked shoes, enter the construction ground, and use the special self-leveling deflation roller to roll gently on the self-leveling surface to release the air mixed in the stirring, so as to avoid air bubbles and pockmarked surfaces and interface height differences.
3. After the construction is completed, please close the site immediately, prohibit walking within 5 hours, avoid heavy objects hitting within 10 hours, and lay stone-plastic floor after 24 hours.
4. For winter construction, the floor should be laid 48 hours after the self-leveling construction.
5. If self-leveling needs to be finely ground and polished, it should be done after 12 hours of self-leveling construction.

Sixth, the paving of the floor - pre-laying and cutting
1. The floor should be placed on site for more than 24 hours to restore the memory of the material and keep the temperature consistent with the construction site.
2. When the blocks are laid, the two pieces of materials should be spliced according to the lock and ensure that there is no seam.
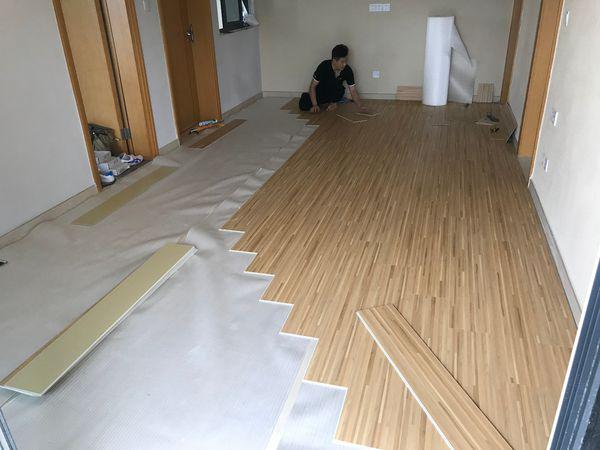
Seventh, the pavement of the floor
1. Select the corresponding mute mat (optional) suitable for the stone-plastic floor.
2. When laying tiles, please calculate the amount and cutting size of the floor.
3. Different locks have different requirements during construction. For details, please refer to the corresponding product manual for construction.
4. The excess dust on the floor surface should be wiped off in time.

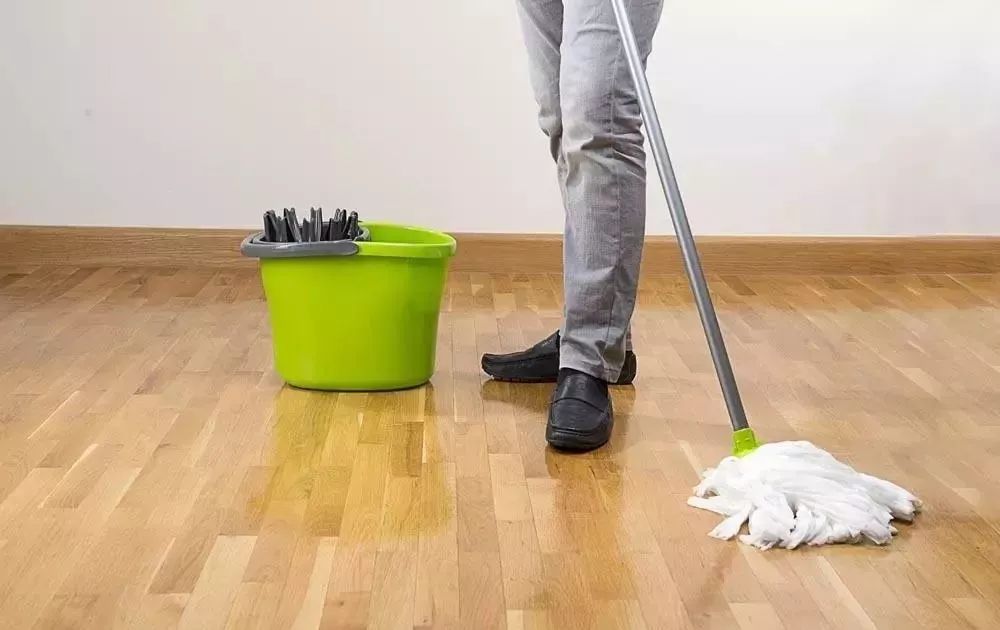
Eighth Step: Floor cleaning and maintenance
1. The stone-plastic floor is developed and designed for indoor places, and it is not suitable for laying and using it in outdoor places.
2. Please use the corresponding cleaning agent for regular cleaning and maintenance according to the method recommended by the manufacturer.
3. Avoid pouring high-concentration solvents such as toluene and rubber water, strong acids, and strong alkali solutions on the floor surface, and avoid using inappropriate tools and sharp objects to scrape or damage the floor surface.


.png?v=20250420)


 Richard Liu
 +86.519.8585.1798 Fax:+86.519.8585.6878
 info@xinflooring.com ( 7*24 hours online)
 Science & Technology, Industrial Park, Hutang Town, Wujin District, Changzhou City, Jiangsu Province, 213162, China.